How to replace components in iPollo X1 for maintenance?
How to Replace Components in iPollo X1 for Maintenance?
Introduction
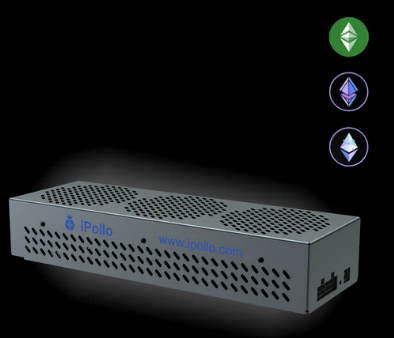
The iPollo X1 is a compact yet powerful cryptocurrency miner designed for Ethash-based coins like Ethereum Classic (ETC), EthereumFair (ETHF), and others. With its 300-330 MH/s hash rate and 240W power consumption, it’s an efficient choice for home miners and small-scale operations. However, like all mining hardware, regular maintenance is crucial to ensure peak performance and longevity.
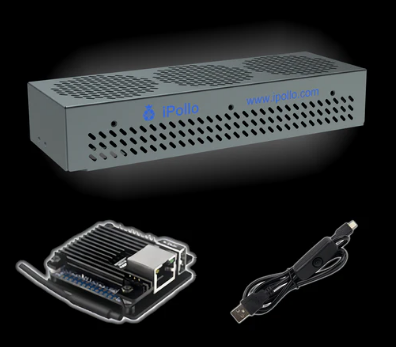
One of the standout features of the iPollo X1 is its modular design, which allows for easy component replacement. Whether you need to swap out a fan, replace thermal paste, or troubleshoot a faulty PCB, knowing how to properly disassemble and maintain your miner can save you time and money.
In this guide, we’ll walk you through the step-by-step process of replacing key components in the iPollo X1, along with best practices to minimize downtime and maximize efficiency.
Essential Tools & Safety Precautions
Before diving into component replacement, gather the necessary tools:
- Anti-static wrist strap (to prevent electrostatic discharge damage)
- Phillips-head screwdriver (for opening the casing)
- Thermal paste (if replacing cooling components)
- Compressed air (for dust cleaning)
- Replacement parts (fans, heatsinks, etc.)
Safety First!
- Power off and unplug the miner before performing any maintenance.
- Allow the miner to cool down if it was recently running.
- Work in a clean, static-free environment to avoid damaging sensitive electronics.
Step-by-Step Component Replacement Guide
1. Opening the iPollo X1 Casing
The iPollo X1 has a sleek, compact design (300 x 100 x 50 mm) with a metal enclosure secured by screws.
- Remove the side panels by unscrewing the visible screws.
- Gently slide off the casing to access internal components.
*Note: Some models may have clips in addition to screws—handle with care to avoid breaking them.*
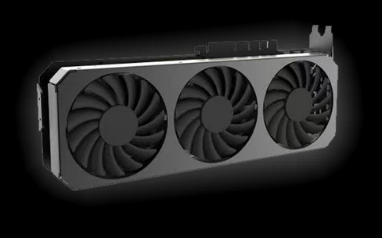
2. Replacing the Cooling Fans
The X1’s cooling system is critical for maintaining optimal temperatures (10-25°C). If fans become noisy or fail, they should be replaced immediately.
#### Steps:
- Locate the fan connectors on the motherboard.
- Disconnect the power cable by gently pulling the plug.
- Unscrew the fan mounts and remove the old fan.
- Install the new fan, ensuring proper airflow direction (usually marked with an arrow).
- Reconnect the power cable and secure the screws.
*Pro Tip:* Apply a small amount of lubricant to the fan bearings if they start making noise before complete failure.
3. Reapplying Thermal Paste
Over time, thermal paste degrades, reducing heat dissipation efficiency. Reapplying it can lower chip temperatures and improve stability.
#### Steps:
- Remove the heatsink by unscrewing it from the mining board.
- Clean the old thermal paste using isopropyl alcohol and a lint-free cloth.
- Apply a pea-sized drop of new thermal paste onto the GPU/ASIC chip.
- Reattach the heatsink, ensuring even pressure.
*Warning:* Too much paste can cause overheating—stick to a thin, even layer.
4. Swapping Faulty Hash Boards
If the miner shows lower hash rates or hardware errors, a hash board may need replacement.
#### Steps:
- Identify the problematic board via miner diagnostics.
- Disconnect all power and data cables from the board.
- Remove mounting screws and carefully lift the board out.
- Insert the new hash board, reconnect cables, and secure screws.
- Power on and test to ensure proper detection.
*Troubleshooting Tip:* Check ribbon cables and connectors—sometimes reseating them fixes issues without full replacement.
5. Power Supply Unit (PSU) Replacement
A failing PSU can cause unstable power delivery or shutdowns.

#### Steps:
- Unplug all PSU connections from the miner.
- Remove mounting screws securing the PSU.
- Install the new PSU, ensuring correct voltage settings.
- Reconnect all power cables firmly.
*Important:* Always use a compatible PSU—mismatched wattage can damage components.
Maintenance Best Practices for Longevity
To keep your iPollo X1 running smoothly, follow these tips:
✔ Regular Dust Cleaning – Use compressed air every 2-3 weeks to prevent overheating. ✔ Monitor Temperatures – Keep ambient temps below 25°C for optimal performance. ✔ Firmware Updates – Check iPollo’s official site for performance optimizations. ✔ Periodic Inspections – Look for loose connections or worn-out fans.
Conclusion: Minimize Downtime, Maximize Profits
The iPollo X1 is a highly efficient and maintainable miner, thanks to its modular design. By following this guide, you can: ✅ Extend hardware lifespan ✅ Reduce repair costs ✅ Ensure consistent mining performance
Whether you’re a home miner or a small-scale operator, mastering component replacement ensures your X1 remains profitable for years to come.
For replacement parts and expert support, check authorized iPollo distributors like Minerfixes, which offer global shipping and warranty services.
Happy mining! ⛏️