How to connect iPollo V1 Mini Classic Plus to Wi-Fi for mining?
How to Connect iPollo V1 Mini Classic Plus to Wi-Fi for Mining?
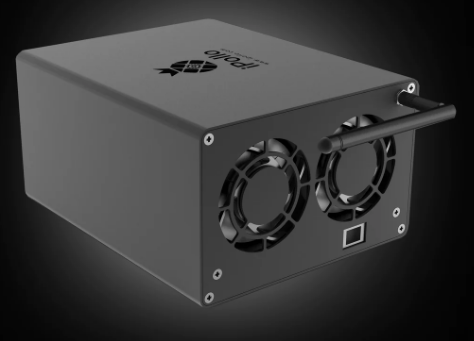
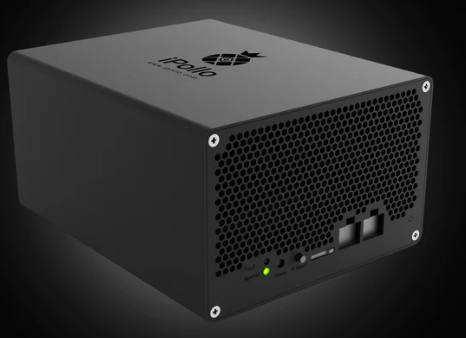
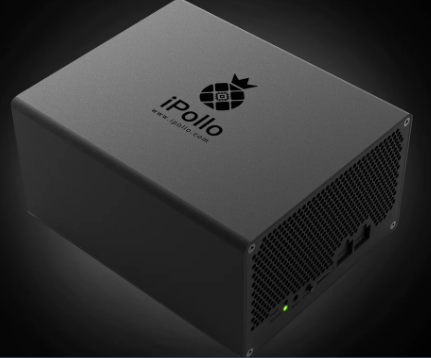
The iPollo V1 Mini Classic Plus is a compact yet powerful cryptocurrency miner designed for the Ethash algorithm, offering an impressive 280 MH/s (±10%) hashrate while maintaining exceptional energy efficiency at just 270W (±10%). Its small form factor (148 x 158 x 78 mm) and lightweight design (1kg) make it an ideal choice for both home miners and larger-scale operations. One of its standout features is its built-in Wi-Fi connectivity, which simplifies setup and enhances flexibility in deployment. In this guide, we’ll walk you through the process of connecting your iPollo V1 Mini Classic Plus to Wi-Fi for seamless mining operations.
Why Wi-Fi Connectivity Matters in Cryptocurrency Mining
Before diving into the setup process, it’s important to understand why Wi-Fi connectivity is a game-changer for miners. Traditional mining rigs often require Ethernet connections, which can be cumbersome to set up, especially in home environments where routing cables across rooms isn’t practical. Wi-Fi eliminates this hassle by allowing miners to connect wirelessly to their network, offering greater placement flexibility and reducing clutter.
For the iPollo V1 Mini Classic Plus, Wi-Fi connectivity is particularly advantageous because of its compact size and home mining optimization. Whether you’re setting up a single unit or multiple devices, Wi-Fi ensures a streamlined setup process and easier management of your mining operations.
Step-by-Step Guide to Connecting the iPollo V1 Mini Classic Plus to Wi-Fi
Step 1: Unbox and Prepare Your Miner
Start by unboxing your iPollo V1 Mini Classic Plus and ensuring all components are present. The package includes the miner itself, a power supply unit, and any necessary cables. Place the miner in a well-ventilated area, as proper airflow is essential for maintaining optimal performance and preventing overheating.
Step 2: Power On the Device
Connect the power supply to the miner and plug it into a reliable power source. Press the power button to turn on the device. You’ll notice the fan starting up, indicating that the miner is operational.
Step 3: Access the Miner’s Web Interface
To configure the Wi-Fi settings, you’ll need to access the miner’s web interface. Here’s how:
- Connect your computer or smartphone to the same local network as the miner (you can use an Ethernet cable temporarily for this step).
- Open a web browser and enter the miner’s IP address. The default IP address is typically provided in the user manual or can be found using a network scanning tool.
- Log in to the web interface using the default credentials (usually “admin” for both username and password).
Step 4: Navigate to the Wi-Fi Settings
Once logged in, locate the network settings menu. This is where you’ll configure the Wi-Fi connection. Look for an option labeled “Wi-Fi Settings” or something similar.
Step 5: Scan for Available Networks
Click on the “Scan” button to search for available Wi-Fi networks. The miner will display a list of nearby networks, including their names (SSIDs) and signal strengths.
Step 6: Select Your Wi-Fi Network
Choose your preferred Wi-Fi network from the list. If your network is hidden, you may need to manually enter the SSID.

Step 7: Enter Your Wi-Fi Password
After selecting the network, you’ll be prompted to enter the Wi-Fi password. Make sure to input the correct credentials to ensure a successful connection.
Step 8: Save and Apply the Settings
Once the password is entered, click “Save” or “Apply” to finalize the configuration. The miner will attempt to connect to the selected Wi-Fi network. This process may take a few moments.
Step 9: Verify the Connection
After the miner successfully connects to the Wi-Fi network, you’ll see a confirmation message on the web interface. To double-check, disconnect the Ethernet cable (if used) and ensure the miner remains operational.
Step 10: Configure Mining Settings
With the Wi-Fi connection established, you can now proceed to configure your mining settings. Enter your mining pool details, wallet address, and any other required parameters through the web interface. Once everything is set up, your iPollo V1 Mini Classic Plus will start mining cryptocurrency over Wi-Fi.
Practical Tips for Optimizing Wi-Fi Mining Performance
- Ensure Strong Signal Strength: Place the miner within range of your Wi-Fi router to maintain a stable connection. If the signal is weak, consider using a Wi-Fi extender or mesh network system.
- Minimize Interference: Keep the miner away from other electronic devices that could cause interference, such as microwaves or cordless phones.
- Monitor Network Stability: Use network monitoring tools to ensure consistent connectivity. If you experience frequent disconnections, troubleshooting your Wi-Fi network may be necessary.
- Regularly Update Firmware: Check for firmware updates from iPollo to ensure your miner is running the latest software, which may include improvements to Wi-Fi performance.
Advantages of Using Wi-Fi with the iPollo V1 Mini Classic Plus
- Flexibility in Placement: Wi-Fi connectivity allows you to place the miner in locations where running Ethernet cables would be impractical, such as basements or garages.
- Simplified Setup: Eliminating the need for physical cables reduces setup time and complexity, making it easier for beginners to get started.
- Scalability: When managing multiple miners, Wi-Fi enables centralized control without the limitations of wired connections.
- Home Mining Optimization: The iPollo V1 Mini Classic Plus is designed for quiet operation (55dB), and Wi-Fi connectivity further enhances its suitability for home environments by reducing cable clutter.
Conclusion
Connecting your iPollo V1 Mini Classic Plus to Wi-Fi is a straightforward process that unlocks greater flexibility and convenience for your mining operations. By following the steps outlined in this guide, you can seamlessly integrate this powerful miner into your home or professional setup, taking full advantage of its compact design and advanced features. Whether you’re a seasoned miner or just starting out, the iPollo V1 Mini Classic Plus offers an accessible and efficient solution for Ethash algorithm mining, and its Wi-Fi connectivity ensures a hassle-free experience from setup to operation.