How to replace the ASIC chip in Lucky Miner LV06?
How to Replace the ASIC Chip in Lucky Miner LV06?
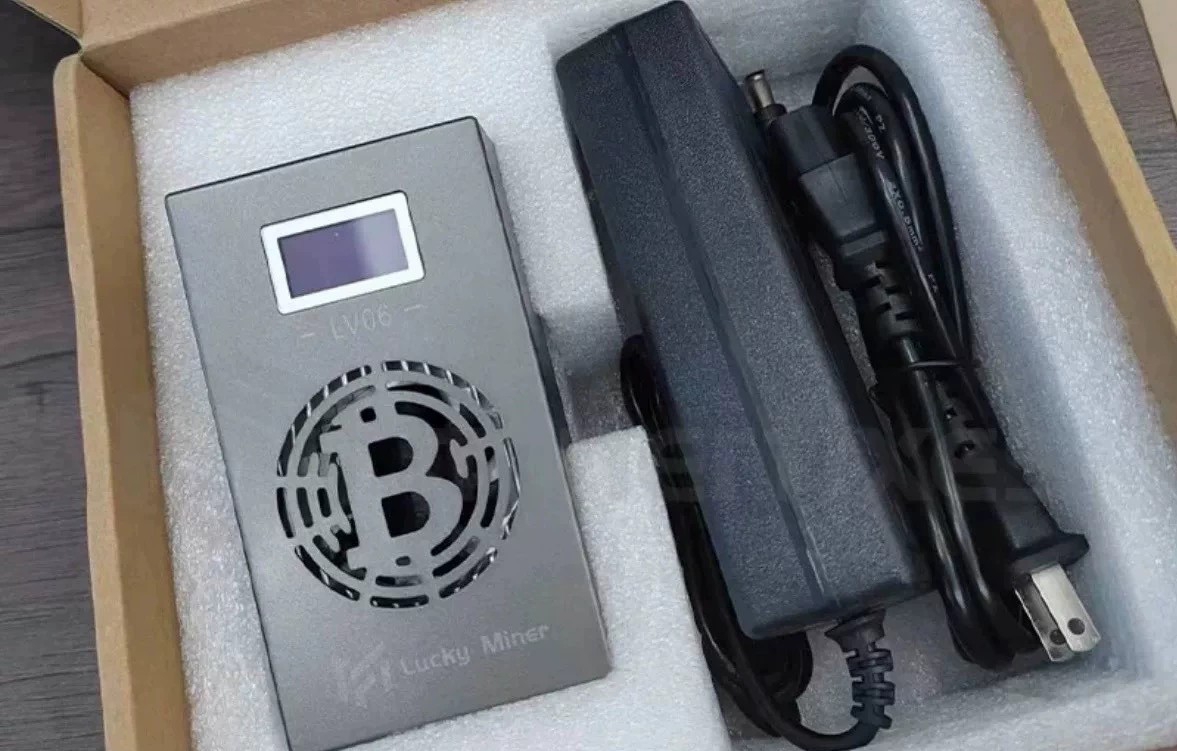
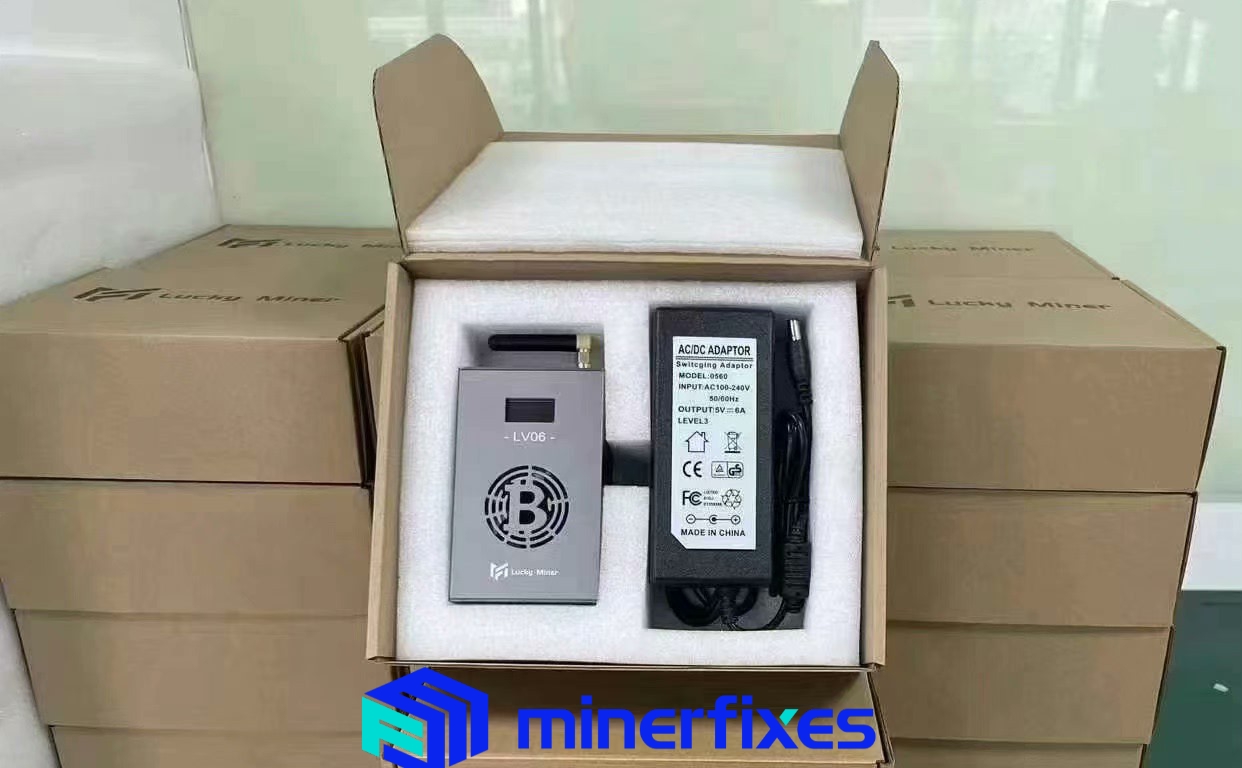
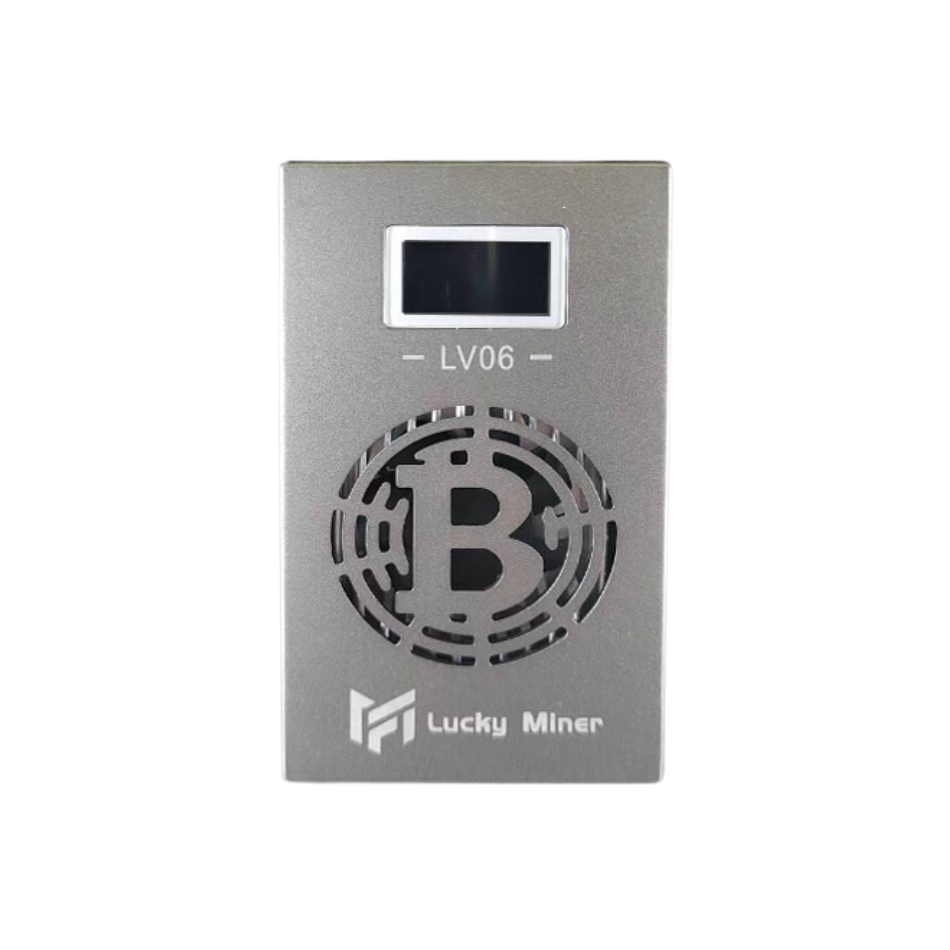
The Lucky Miner LV06 has emerged as a game-changer in the world of cryptocurrency mining, offering professional-grade performance in a compact and portable form. Its cutting-edge 5nm ASIC chip, energy efficiency, and user-friendly design make it a popular choice for both novice and experienced miners. However, like any advanced piece of technology, the ASIC chip in the LV06 may eventually require replacement due to wear and tear or the need for an upgrade. In this article, we’ll walk you through the process of replacing the ASIC chip in your Lucky Miner LV06, ensuring you can maintain optimal performance and extend the lifespan of your device.
Why Replace the ASIC Chip in the Lucky Miner LV06?
Before diving into the replacement process, it’s essential to understand why you might need to replace the ASIC chip in your Lucky Miner LV06. The ASIC (Application-Specific Integrated Circuit) chip is the heart of any mining device, responsible for executing the complex calculations required for cryptocurrency mining. Over time, even the most durable chips can degrade due to:
- Prolonged Usage: Continuous mining operations can lead to chip overheating, reducing its efficiency.
- Hardware Failures: Manufacturing defects or physical damage can render the chip inoperative.
- Technological Advancements: Upgrading to a newer ASIC chip with better performance or energy efficiency can boost your mining profitability.
Replacing the ASIC chip can breathe new life into your LV06, allowing you to continue mining SHA-256 cryptocurrencies like Bitcoin (BTC), Bitcoin Cash (BCH), and Bitcoin SV (BSV) with optimal hash rates and power efficiency.
Tools and Materials Needed
To successfully replace the ASIC chip in your Lucky Miner LV06, you’ll need the following tools and materials:
- Replacement ASIC Chip: Ensure the new chip is compatible with the LV06’s specifications (5nm technology, SHA-256 algorithm).
- Precision Screwdrivers: For opening the device and removing components.
- Anti-Static Wrist Strap: To protect sensitive electronics from static discharge.
- Thermal Paste: Essential for ensuring proper heat transfer between the chip and the heatsink.
- Cleaning Supplies: Isopropyl alcohol and microfiber cloth for cleaning surfaces.
- Tweezers: For handling small components.
- Soldering Kit (optional): Only required if the chip is soldered to the motherboard.
- User Manual: Refer to the LV06’s manual for specific disassembly instructions.
Step-by-Step Guide to Replacing the ASIC Chip
Step 1: Power Down and Disassemble the Device
- Turn Off the LV06: Unplug the device from the power source and disconnect it from your network.
- Remove External Covers: Use a precision screwdriver to remove the screws securing the outer casing. Carefully lift the cover to expose the internal components.
- Locate the ASIC Chip: Identify the ASIC chip on the motherboard. It’s typically situated beneath the heatsink.
Step 2: Remove the Existing ASIC Chip
- Detach the Heatsink: Gently unscrew or unclip the heatsink from the motherboard. Be cautious not to damage the surrounding components.
- Clean the Chip Surface: Use isopropyl alcohol and a microfiber cloth to clean any residual thermal paste from the chip and heatsink.
- Remove the Chip: If the chip is socketed, carefully lift it out using tweezers. If it’s soldered, use a soldering kit to detach it from the motherboard.
Step 3: Install the New ASIC Chip
- Prepare the New Chip: Ensure the replacement chip is free of dust or debris.
- Apply Thermal Paste: Apply a small amount of thermal paste to the top of the new chip. Spread it evenly to ensure proper heat dissipation.
- Insert the Chip: If the chip is socketed, align it correctly with the socket and press it firmly into place. If soldering is required, carefully solder the chip to the motherboard.
- Reattach the Heatsink: Place the heatsink back over the chip and secure it with screws or clips.
Step 4: Reassemble and Test the Device
- Reassemble the Casing: Put the outer cover back on and secure it with screws.
- Power On the LV06: Plug the device back into the power source and connect it to your network.
- Test the Performance: Use the device’s management interface to monitor the hash rate, temperature, and power consumption. Ensure everything is functioning as expected.
Benefits of Replacing the ASIC Chip
Replacing the ASIC chip in your Lucky Miner LV06 offers several advantages:
- Restored Performance: A new chip ensures the device operates at its maximum hash rate, maintaining profitability.
- Improved Energy Efficiency: Modern ASIC chips often consume less power, reducing operational costs.
- Extended Lifespan: Regular maintenance and upgrades can prolong the life of your mining equipment.
- Adaptability: Upgrading to a newer chip allows you to stay competitive in the ever-evolving cryptocurrency mining landscape.
Practical Tips for ASIC Chip Maintenance
To minimize the need for frequent chip replacements, follow these maintenance tips:
- Monitor Temperature: Ensure the device operates within the recommended temperature range to prevent overheating.
- Clean Regularly: Dust and debris can accumulate inside the device, affecting its cooling efficiency. Clean the interior periodically.
- Update Firmware: Keep the LV06’s firmware up to date to optimize performance and address any software-related issues.
- Use Quality Components: When replacing parts, always opt for high-quality, compatible components to ensure reliability.
Conclusion
Replacing the ASIC chip in your Lucky Miner LV06 is a straightforward process that can significantly enhance the device’s performance and longevity. By following the steps outlined above, you can ensure your mining operations remain efficient and profitable. Whether you’re addressing hardware failures or upgrading to a more advanced chip, this guide equips you with the knowledge to tackle the task with confidence.
As the cryptocurrency mining industry continues to evolve, staying proactive with equipment maintenance and upgrades is essential. The Lucky Miner LV06, with its portable design and professional-grade performance, remains a versatile and reliable tool for miners worldwide. By taking care of its core components, you can continue to harness its full potential and maximize your mining success.